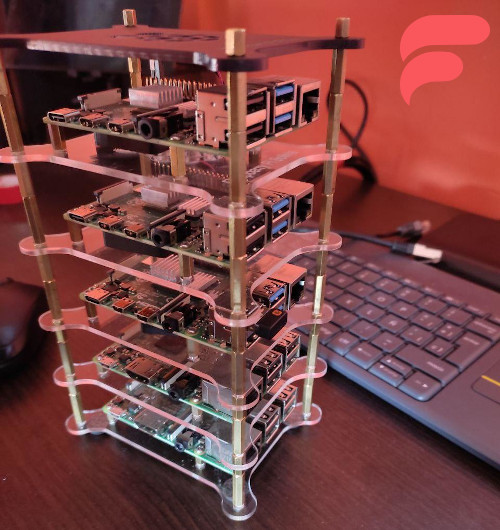
K3s Notes - Part 4
To finish the small lab and finish the last part of K3s, we will name some important details, install and create the service for Kubernetes Dashboard and finally we will list some interesting tools.

Pod Networking
Each Pod is assigned a unique IP address for each address family. Each container in a Pod shares the network namespace, including the IP address and network ports. Inside a Pod (and only then), the containers that belong to the Pod can communicate with each other using localhost. When containers in a Pod communicate with entities outside the Pod, they must coordinate how they use shared network resources (such as ports). Inside a Pod, containers share an IP address and port space, and can find each other via localhost. The containers in a Pod can also communicate with each other using standard interprocess communications, such as SystemV semaphores or POSIX shared memory. Containers in different Pods have different IP addresses and cannot communicate over IPC without special configuration. Containers that want to interact with a container running on a different Pod can use IP networks to communicate.
CNI - Cluster Networking Interface: It is a network framework that allows dynamic configuration of network resources through a group of libraries and specifications written by Go. The aforementioned specification for the plug-in describes an interface that would configure the network, provision IP addresses, and maintain connectivity for multiple hosts.
In the context of Kubernetes, the CNI integrates seamlessly with the kubelet to allow automatic network configuration between pods using an underlying or overlay network. An underlying network is defined at the physical level of the network layer made up of routers and switches.
Calico: It is an open source network and network security solution for containers, virtual machines, and native host-based workloads. Calico supports several data planes, including: a pure Linux eBPF data plane, a standard Linux network data plane, and a Windows HNS data plane. Calico provides a complete network stack, but can also be used in conjunction with cloud provider CNIs to provide network policy enforcement.
Kubernetes Services
- Cluester IP: Assign a Fixed IP within a cluster, it works with a small Load Balancer.
- Node Port: Similar to the previous one, but at the port level, it creates a port on each node that receives all the traffic and directs it to the desired service.
- Load Balancer: Create a Load Balancer in a cloud provider and redirect the Pods traffic.
- Ingress: It exposes HTTP and HTTPS routes from outside the cluster to services within the cluster, the routing of the traffic is controlled by rules defined in the Ingress resource.
Simple Example
 1apiVersion: networking.k8s.io/v1
 2kind: Ingress
 3metadata:
 4  name: fcch-app
 5spec:
 6  rules:
 7  - http:
 8      paths:
 9      - path: /v1
10        pathType: Prefix
11        backend:
12          service:
13            name: fcch-v1
14            port:
15              number: 8080
16      - path: /v2
17        pathType: Prefix
18        backend:
19          service:
20            name: fcch-v2
21            port:
22              number: 8080
Some useful commands:
1# List Ingress types
2$ kubectl get ing
3# List services
4$ kubectl -n new-ingress get svc
Dashboard Kubernetes
K3s provides us with a simple way to install the Dashboard, you just have to execute the following commands:
1GITHUB_URL=https://github.com/kubernetes/dashboard/releases
2VERSION_KUBE_DASHBOARD=$(curl -w '%{url_effective}' -I -L -s -S ${GITHUB_URL}/latest -o /dev/null | sed -e 's|.*/||')
3sudo k3s kubectl create -f https://raw.githubusercontent.com/kubernetes/dashboard/${VERSION_KUBE_DASHBOARD}/aio/deploy/recommended.yaml
The files should be created:
dashboard.admin-user.yml
1apiVersion: v1
2kind: ServiceAccount
3metadata:
4  name: admin-user
5  namespace: kubernetes-dashboard
dashboard.admin-user-role.yml
 1apiVersion: rbac.authorization.k8s.io/v1
 2kind: ClusterRoleBinding
 3metadata:
 4  name: admin-user
 5roleRef:
 6  apiGroup: rbac.authorization.k8s.io
 7  kind: ClusterRole
 8  name: cluster-admin
 9subjects:
10- kind: ServiceAccount
11  name: admin-user
12  namespace: kubernetes-dashboard
Then the command must be executed to apply the yaml files.
1$ sudo k3s kubectl create -f dashboard.admin-user.yml -f dashboard.admin-user-role.yml
We have to obtain the token to be able to enter the dashboard with the user admin-user:
1$ sudo k3s kubectl -n kubernetes-dashboard describe secret admin-user-token | grep '^token'
Finally we can expose the service locally with:
1$ sudo k3s kubectl proxy
If we need to edit the Namespace of kubernetes-dashboard we can execute:
1$ kubectl -n kubernetes-dashboard edit service kubernetes-dashboard
2$ kubectl -n kubernetes-dashboard get services
In the example the Server Node is without a graphical environment, and for the example an SSH tunnel was created for port 8001:
1$ ssh -L 8001:127.0.0.1:8001 -N -f -l USER IP-DOMAIN
And to enter the Dashboard from the web browser the path would be:
1http://localhost:8001/api/v1/namespaces/kubernetes-dashboard/services/
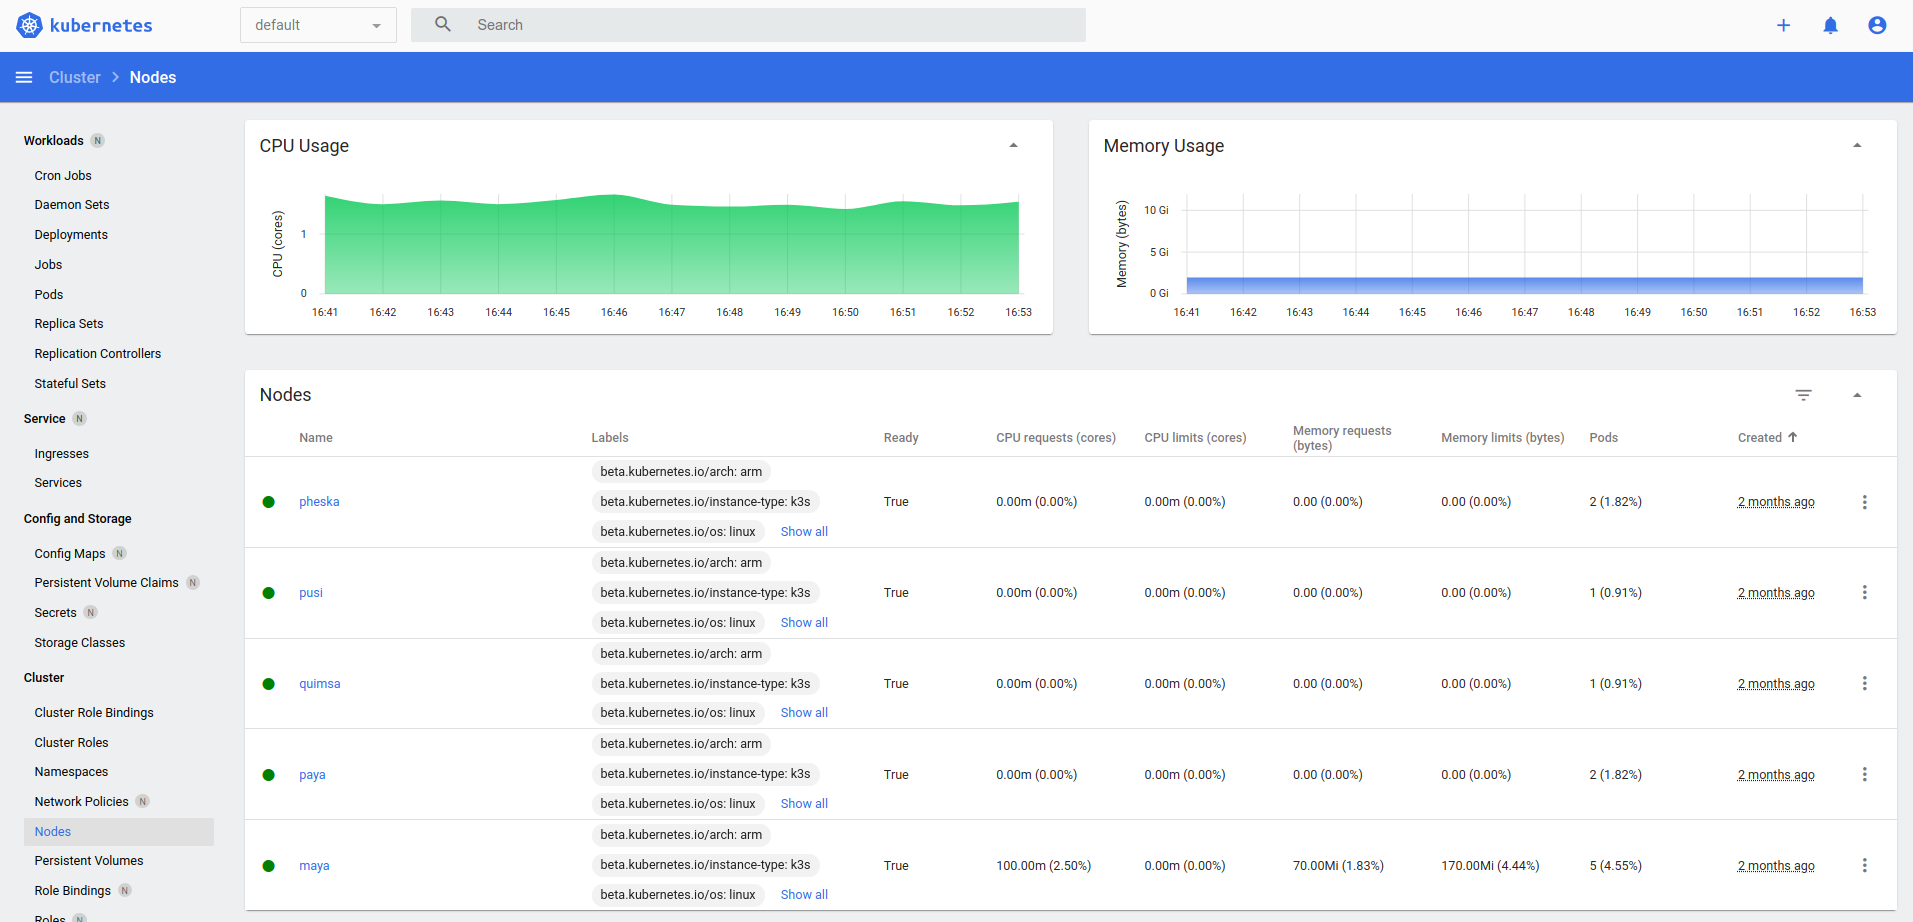
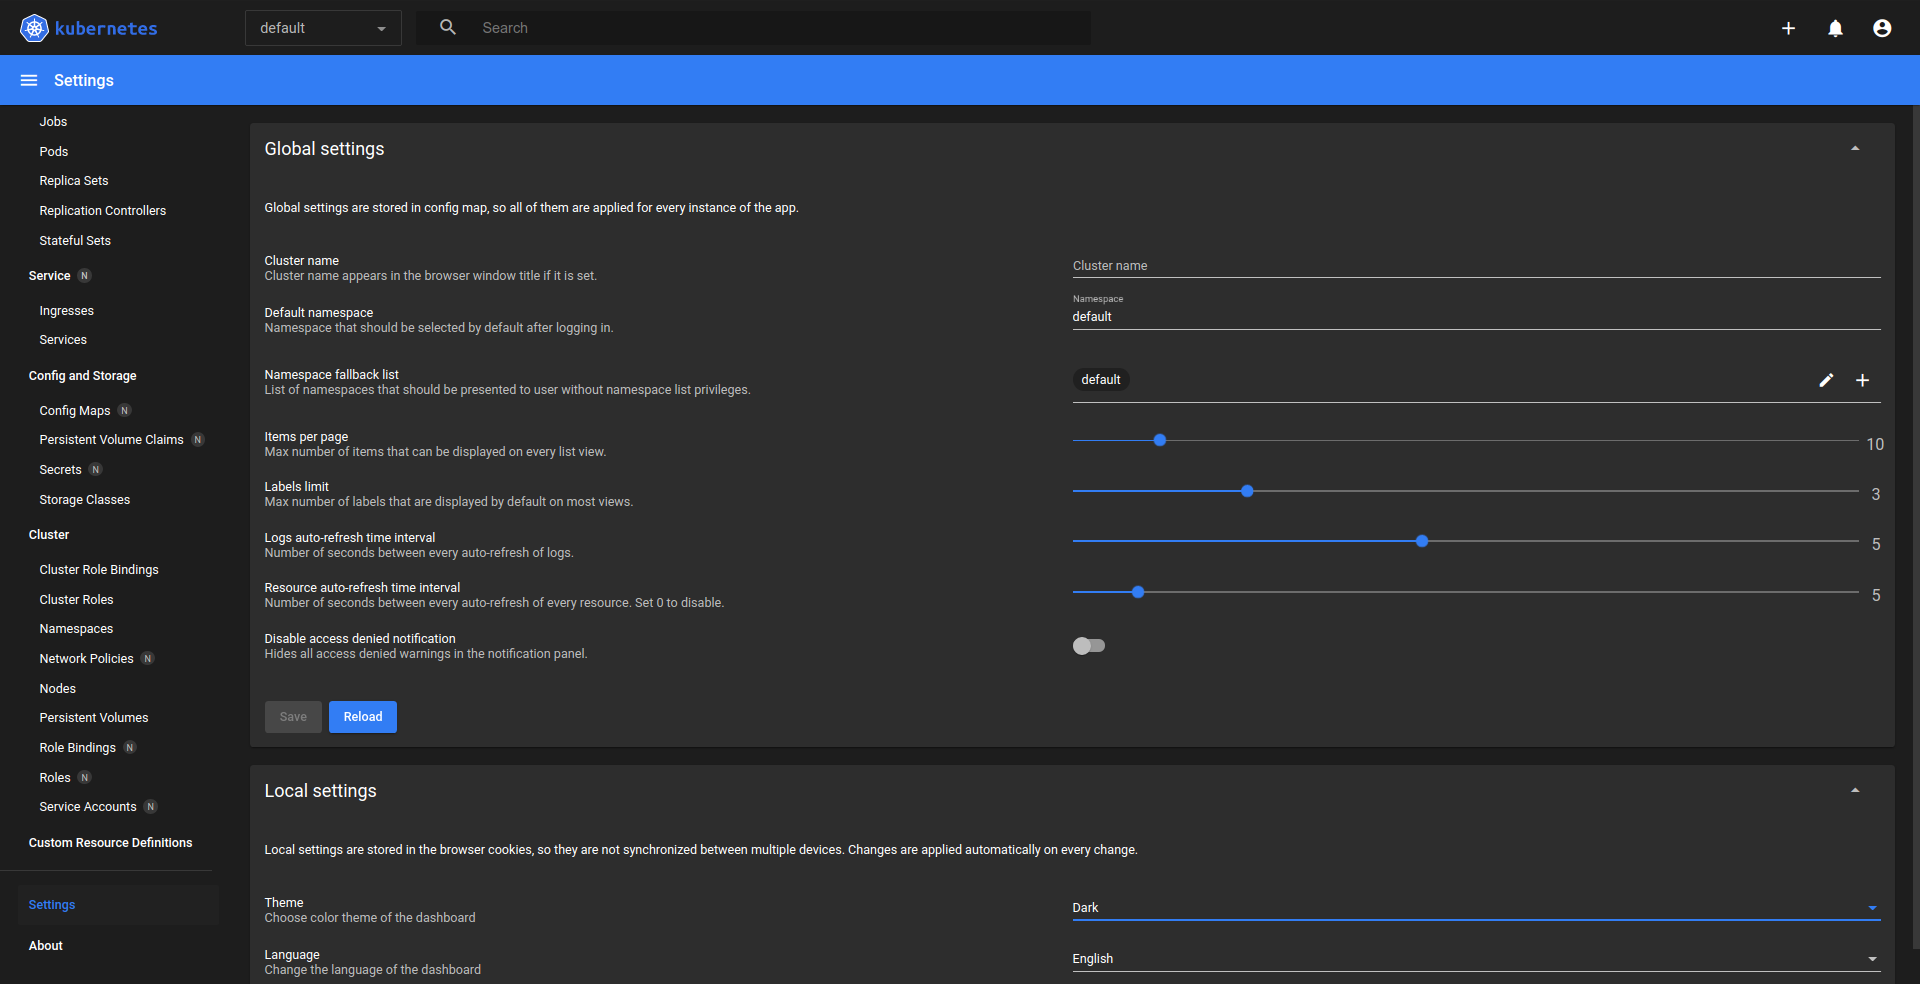
If everything ran without problems our Dashboard would be similar to this:
- Nodes List

- Namespaces List

- Dashboard Configuration

Useful commands:
1$ kubectl config view
2$ kubectl get services --all-namespaces
3$ kubectl -n kubernetes-dashboard edit service kubernetes-dashboard
4$ kubectl -n kubernetes-dashboard get svc
Interesting Tools
- Lens: It is a system that takes control of your Kubernetes clusters.
- Kind: This is a tool for running local Kubernetes clusters through Docker container "nodes".
- Minikube: It is a local Kubernetes and focuses on facilitating learning and development for Kubernetes.
- Helm: Functions like a packaging manager for Kubernetes, Helm is the best way to find, share, and use software built for Kubernetes.
- Supervisord: It is a client/server system that allows its users to monitor and control a series of processes in operating systems similar to UNIX (It is not recommended to run two processes per container, but if necessary we can use this tool).