SPIP, Another Way to Install
SPIP is a French CMS with simple installation, you do not need PHP and MySQL knowledge to proceed with the installation, it contains a web configuration menu and a simple administration space.
![]()
There are different installation methods on the official site, you can download the Zip file to unzip and prepare the installation, another way that exists is to start the Automatic Installation which consists of downloading the spip_loader.php file and running it from a web browser.
The method that is not used very often is to download from an official SPIP repository using the old and reliable Subversion (SVN), this installation method is the one that is commonly used to be able to perform updates automatically in a single line command.
Download SPIP
We start the download assuming that you already have a web server on the local machine or with a provider of your choice.
To start the download of SPIP, to have the latest stable version 3.2.7 we must download the branch spip-3.2 executing:
1$ mkdir spip-core
2$ cd spip-core
3$ svn checkout svn://trac.rezo.net/spip/branches/spip-3.2 .
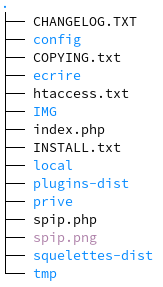
After finishing the download we will have a file structure similar to this:
- For CMS updates, just run:
1$ svn upgrade
2$ svn update
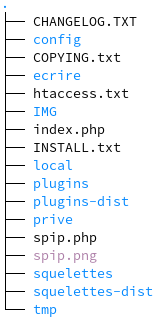
- To make the customizations in SPIP without risk of losing the information after the updates, the following directories must be created:
1$ mkdir -p plugins/auto
2$ mkdir squelettes
- To start the installation of SPIP we need to have the IMG, tmp, local and config directories with 777 permissions and if possible with the user and group www-data:
1$ chown -R www-data:www-data IMG tmp local config
2$ chmod 777 IMG tmp local config
The directory structure should be as follows:
Install SPIP
With all the preparations ready we can start the installation of SPIP.
To start the installation of SPIP we open the web browser of our preference and depending on the case we enter the URL:
- http://localhost/ecrire
- https://dominio.com/ecrire
- http://IP-server/ecrire
this depends on the configuration of the web server, if you are working locally or from a service provider.
-
- When we enter the URL we have the SPIP welcome, where you can choose the installation language:
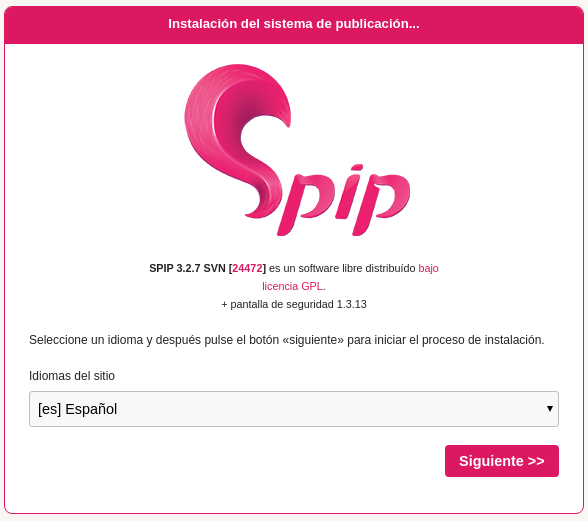
-
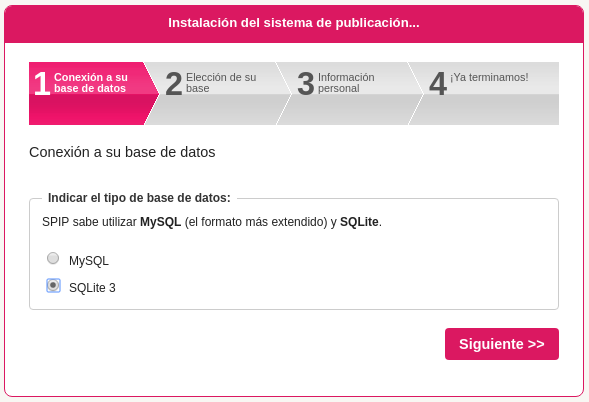
- Then we have the menu for the connection to the database, in this case two options are given, the first is MySQL where the username and password must be entered.
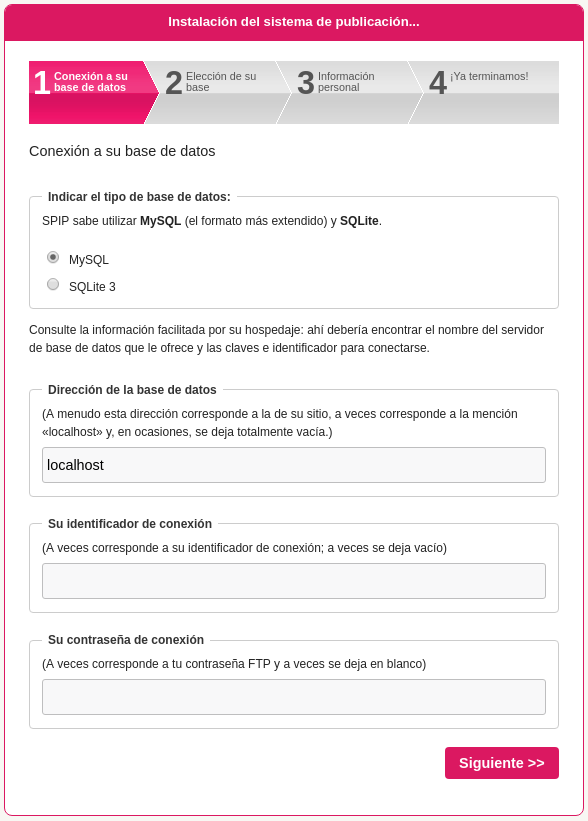
For the example we will use the SQLite3 database for a quick installation.
-
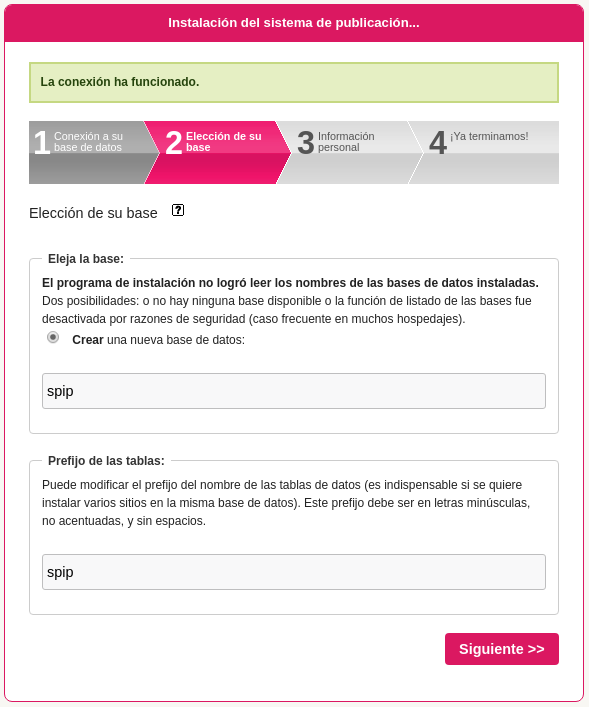
- Now a database with SPIP name and prefix is created, this in the case of no existing databases.
-
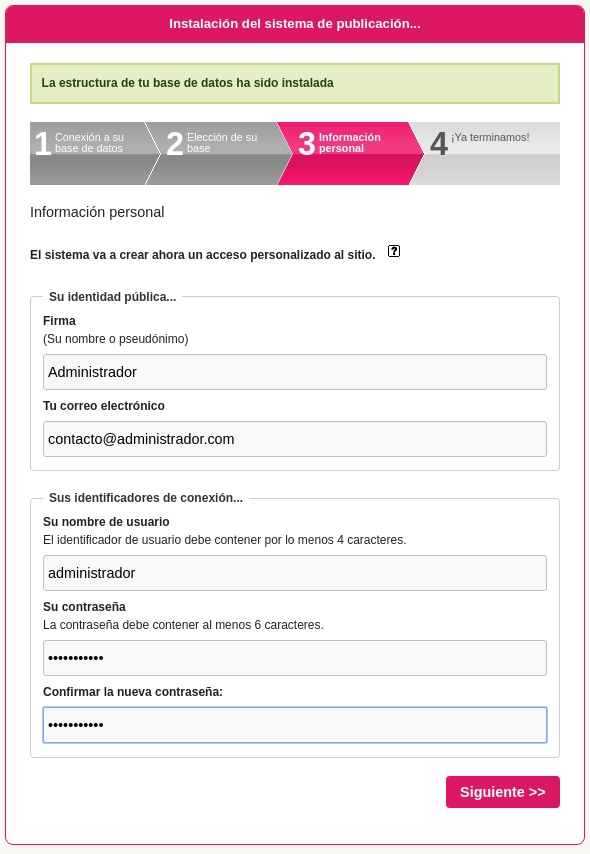
- After creating the database, you must now enter the data for the user who will manage the CMS.
-
- Finally, the installation is displayed, listing the plugins that are part of the CMS.
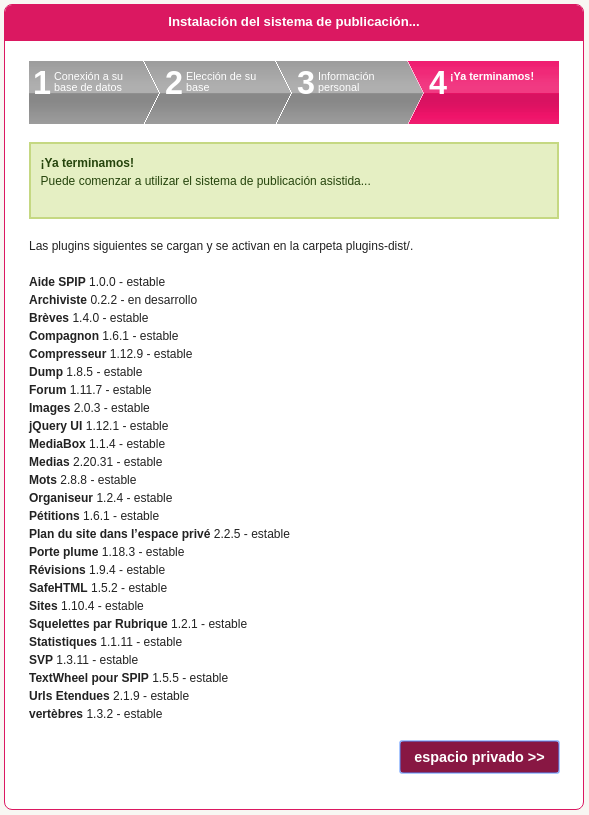
-
- If everything went well, we should be able to enter the Administration area private area.